Using 3D to simplify
Illustration workflow
An experimental exploration for Rapid7’s product illustrations

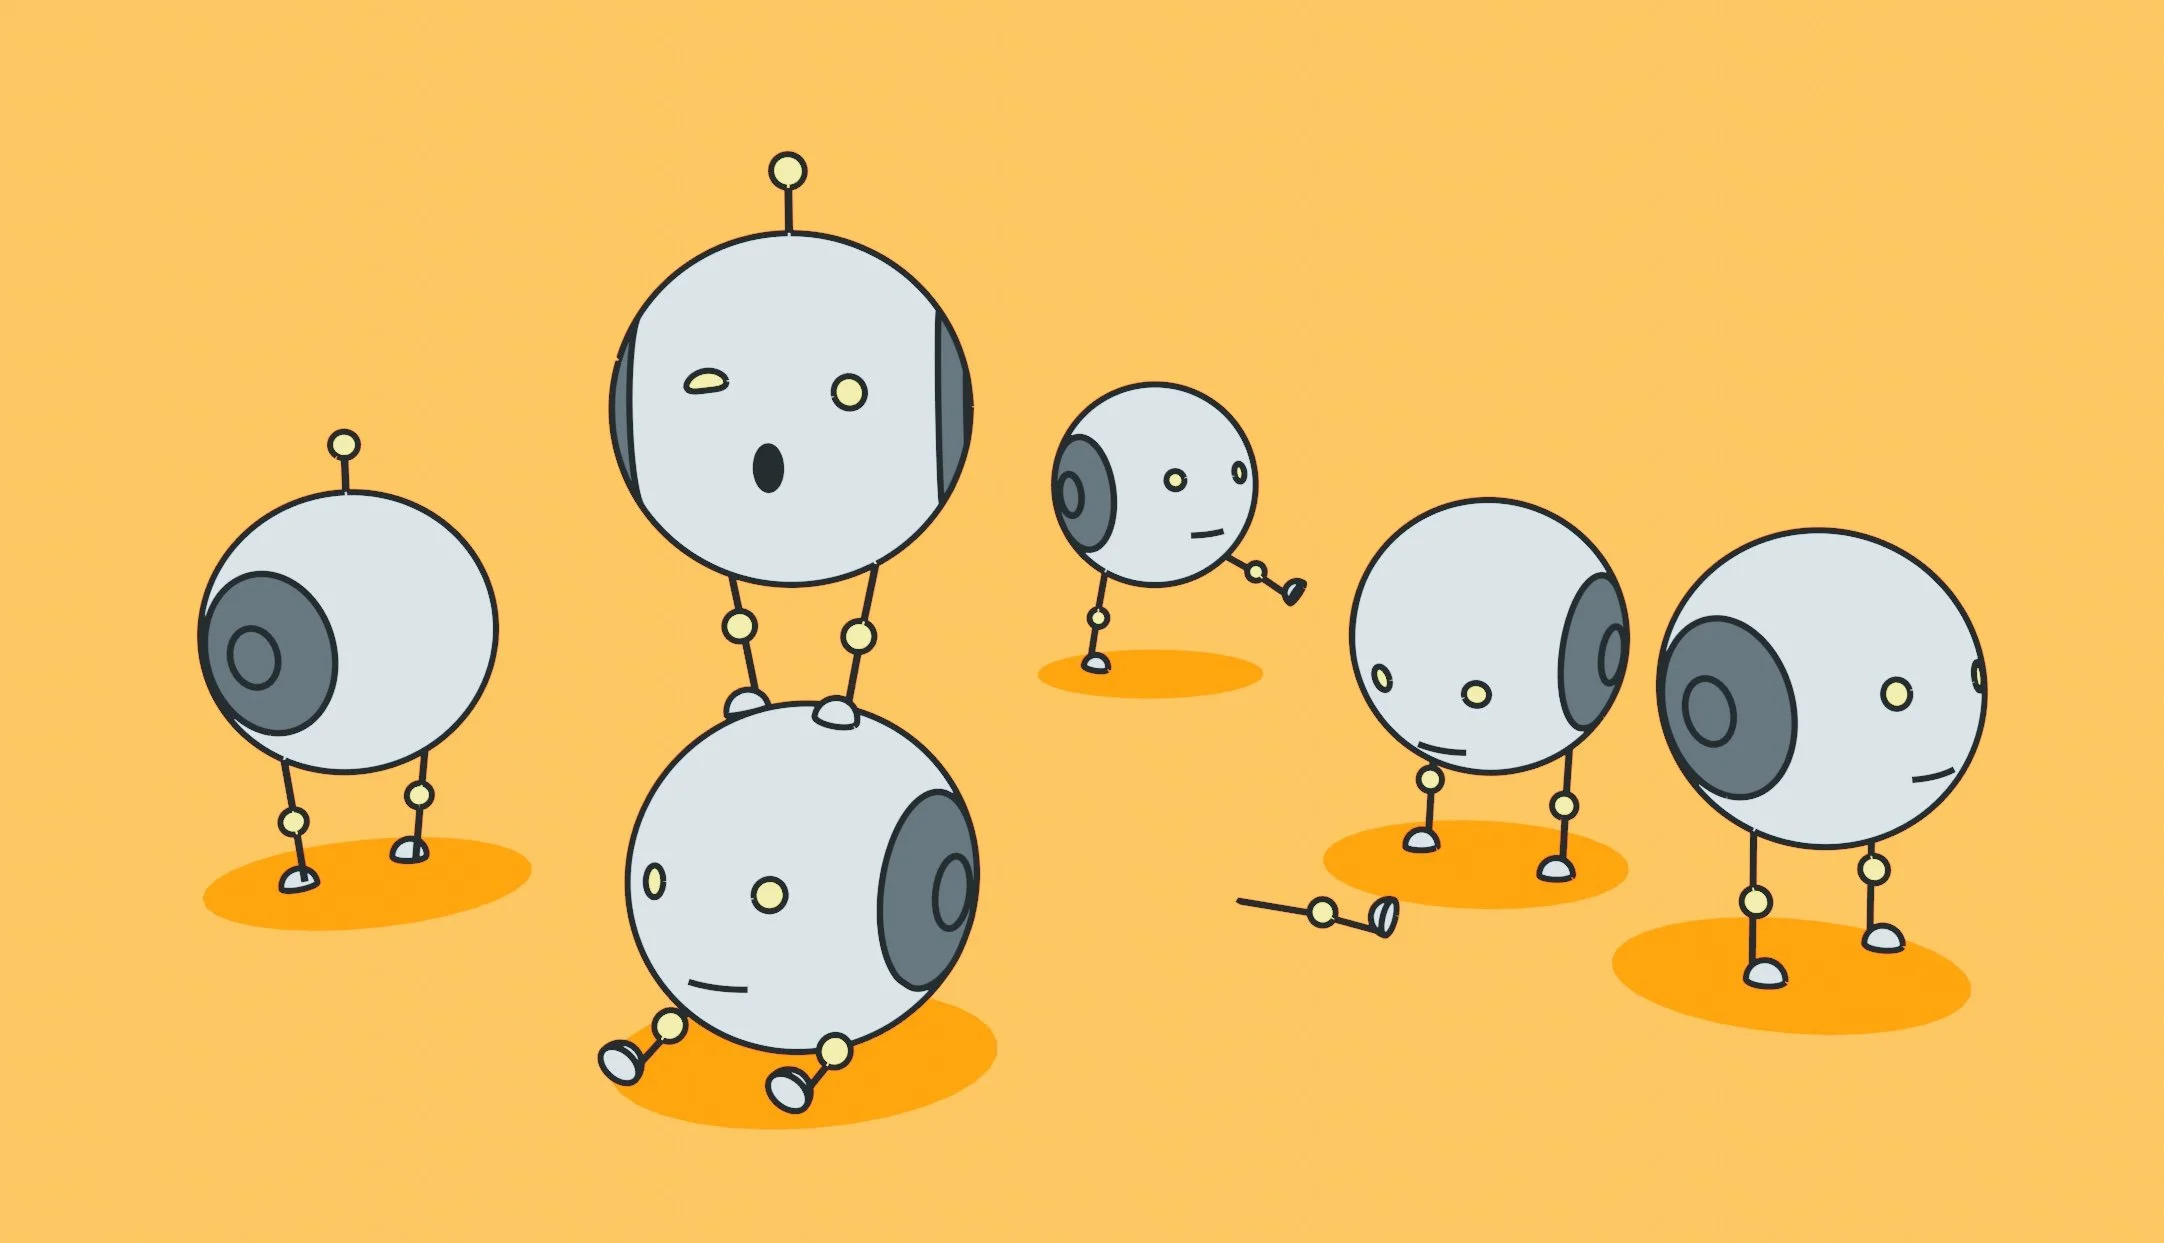
During my tenure at Rapid7, I created a cast of characters to use as visual feedback for the user within our products. These characters were introduced as a way to add a bit of levity and fun.
Although I enjoyed the process of illustrating them, I was often the only one on the team that was responsible for creating these illustrations for new use cases. I wanted to find a way to expand the ability to create them to other team members.
At the time, we were also discussing opening these characters up to the wider brand to use in the customer-facing website and print material.
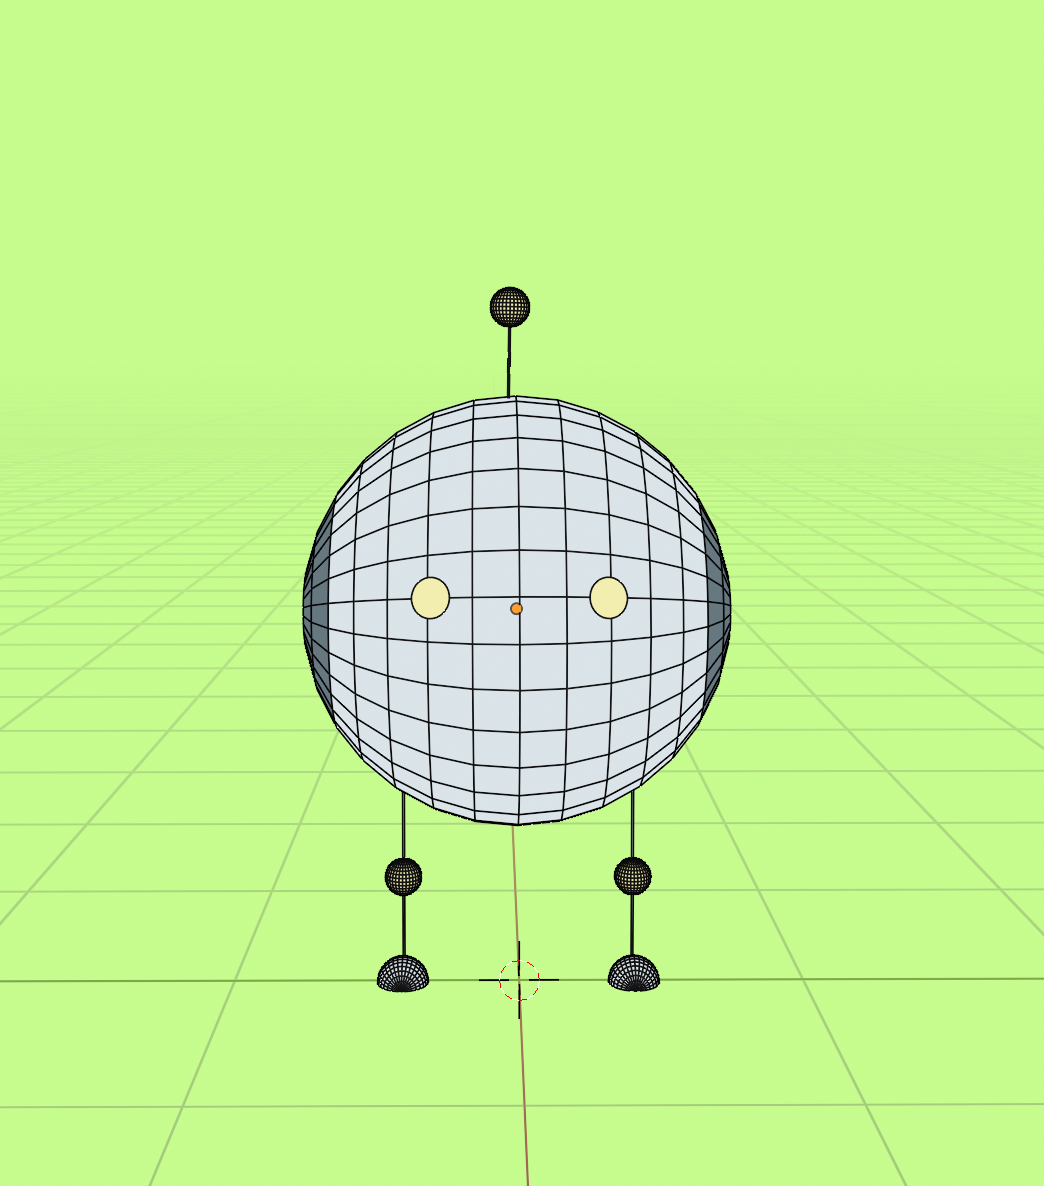
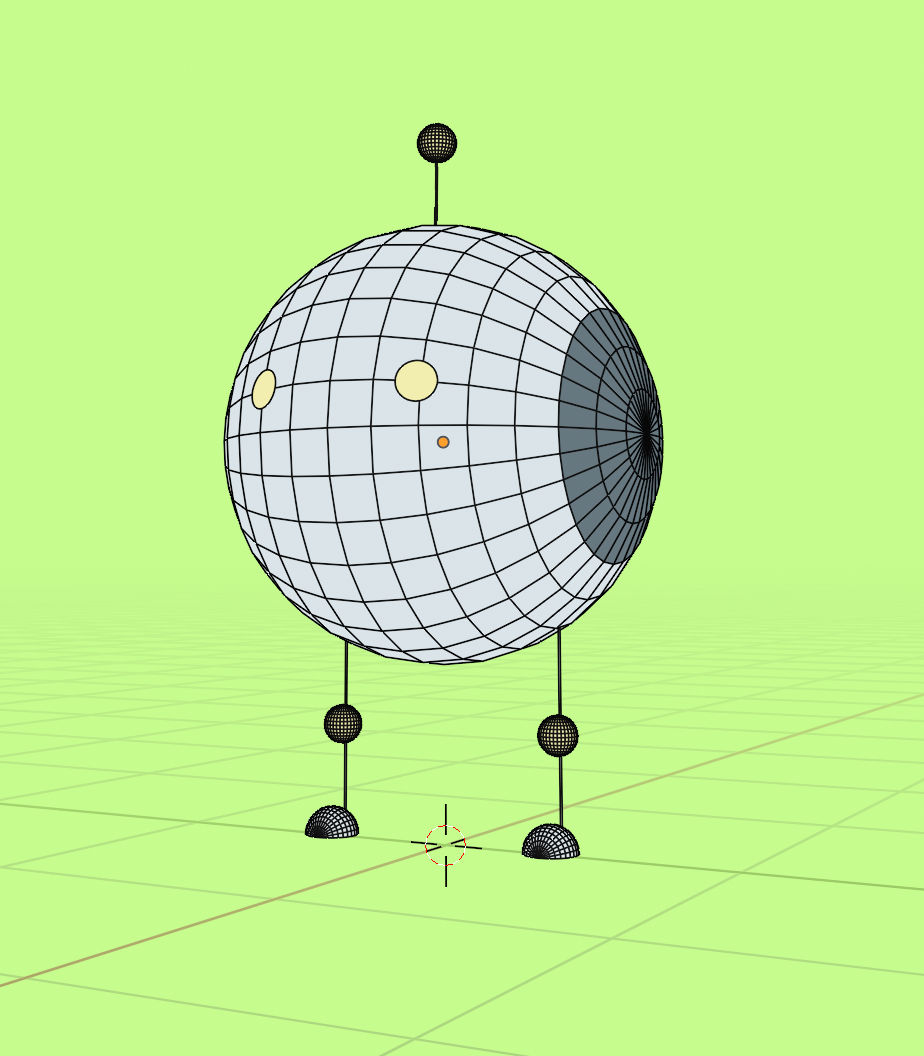
I had the idea to re-create one of the characters from our set in 3D, a medium that would allow us to re-use the same character model, and keep the visuals consistent from any angle, pose, or context.
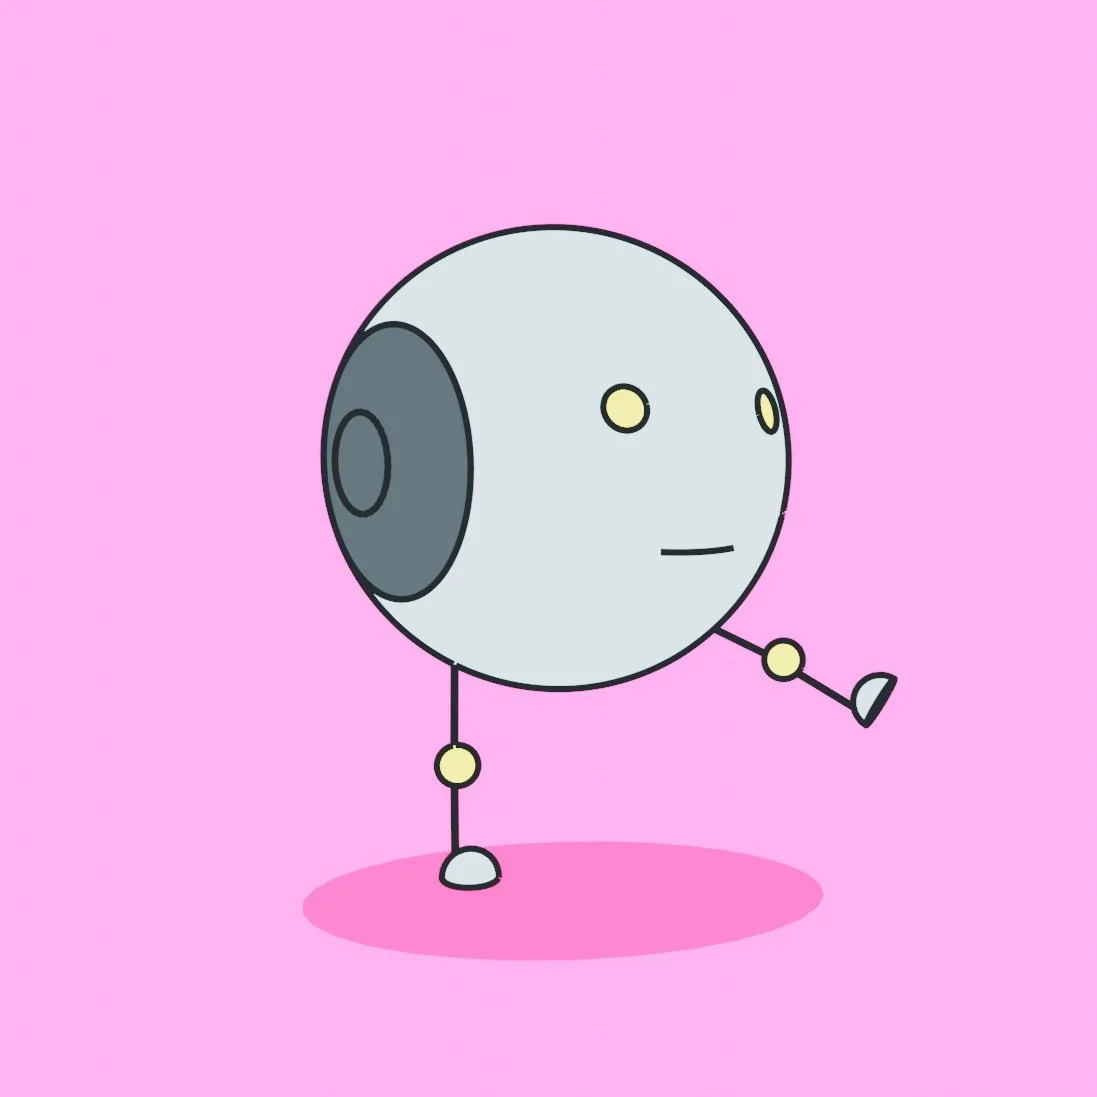
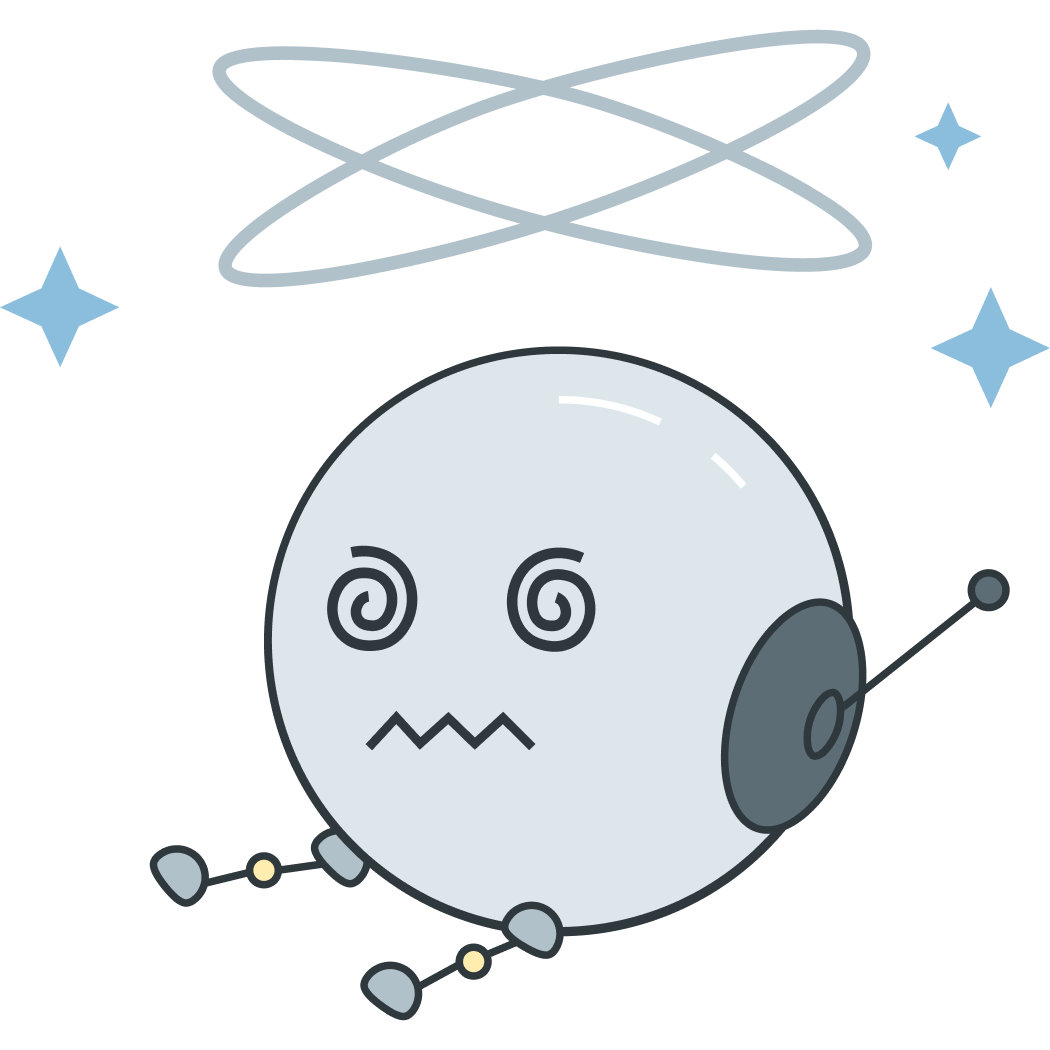
The main challenge here is to make this little guy look like the flat 2D images I had already been producing for the Rapid7 products—as shown on the right.
He needed to have flat colors, the right proportions, and lastly— the same dark slate line art around his body.